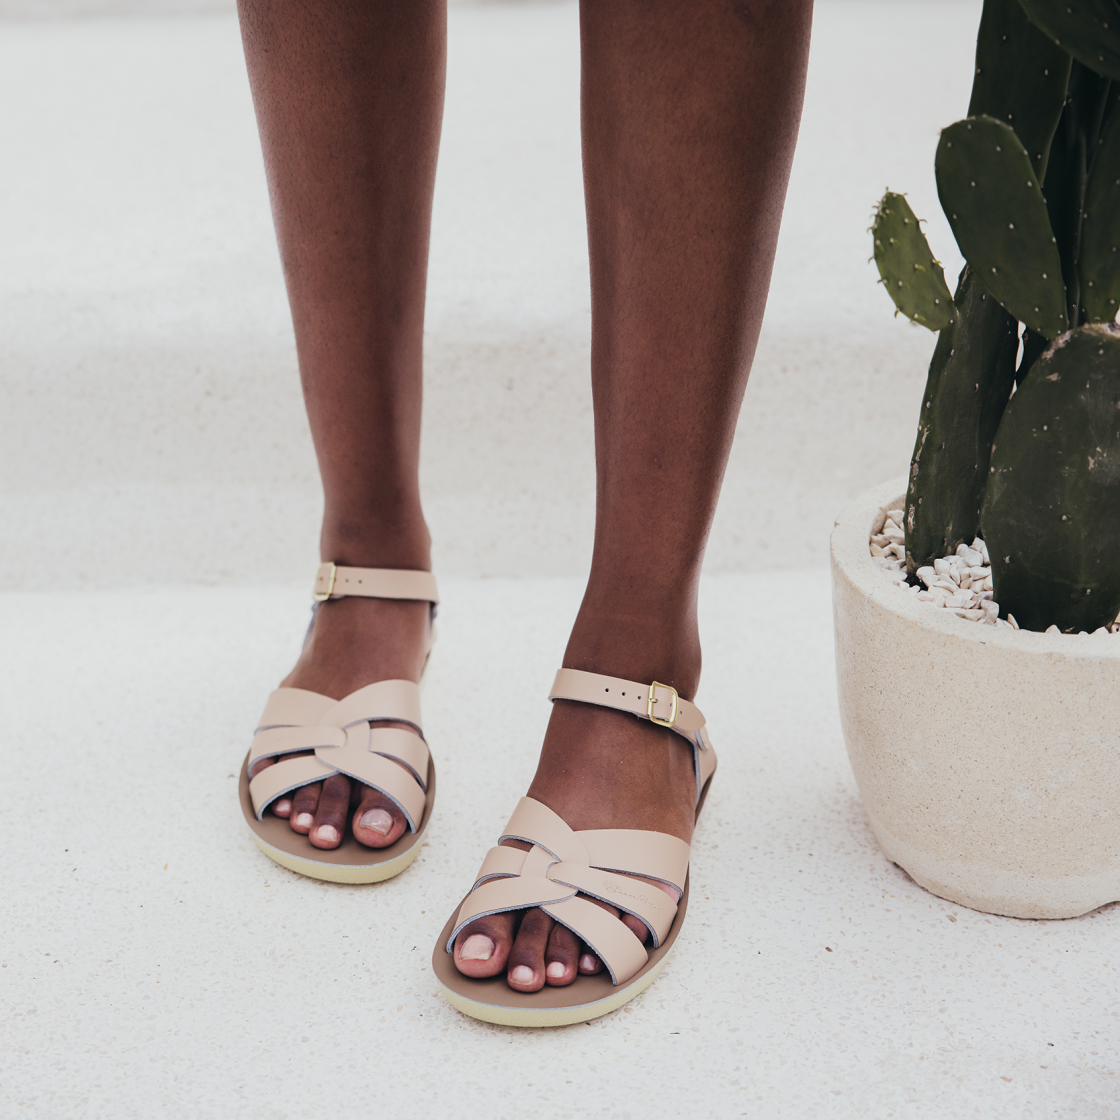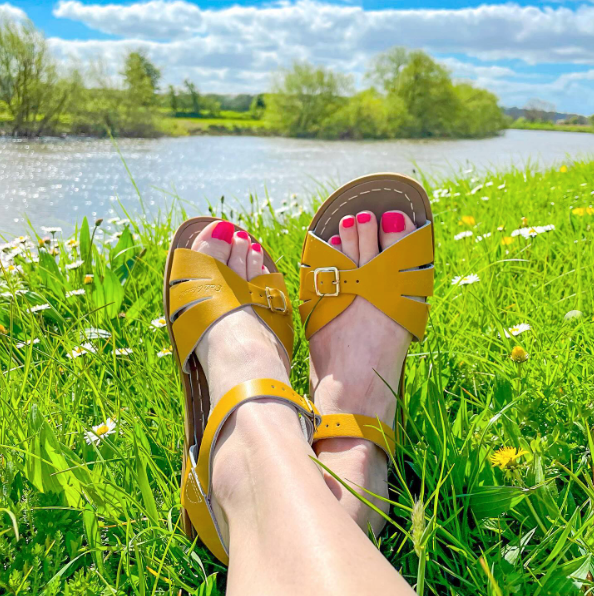
Top 5 pedicure trends for 2024 to show off your summer sandals
Read more


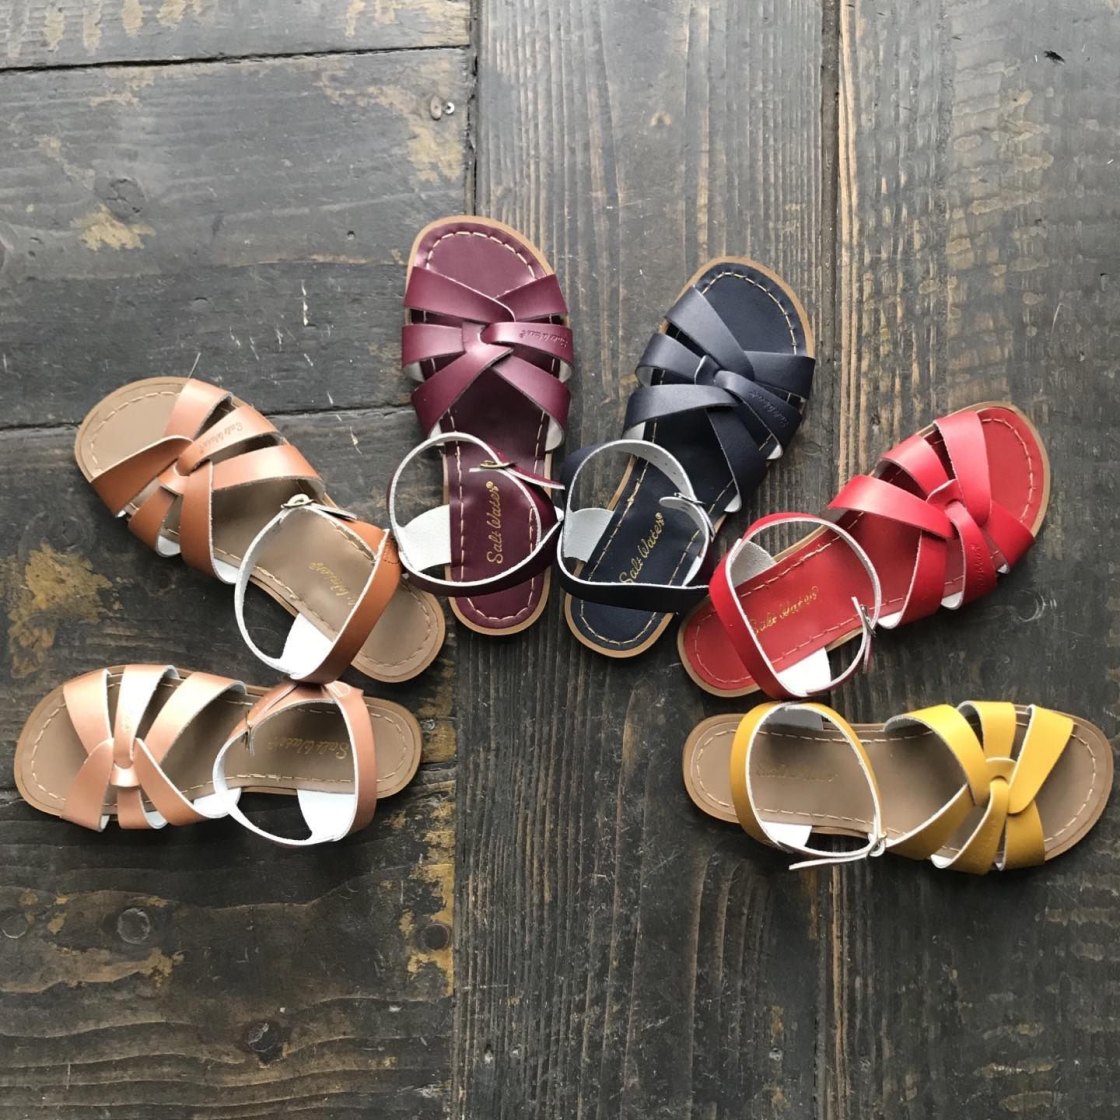
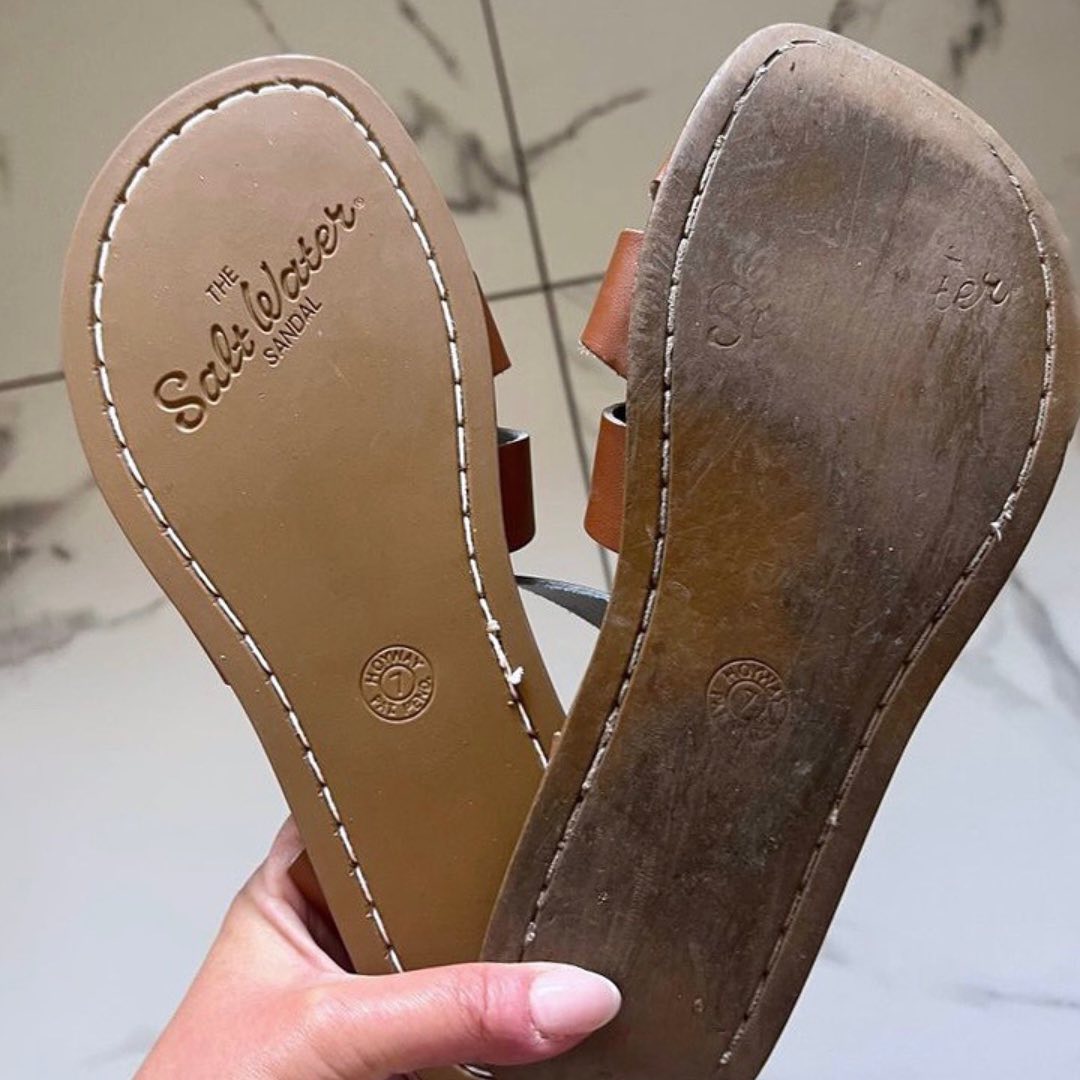
We recommend you the following store:

| Salt-Water | UK | EU | US |
|---|